Start with a small lunch size paper bag. Fold it in half and open it again so that you have a crease half way down the bag. At this time you can also have your child write their name on the bottom flap of the bag if you'd like them to.

Do not draw lines on your bag, I only did this to show you where to cut! Cut a slit down each of the four corners to the crease that you made when you folded the bag. Cut a slit down the front and back of the bag also. You will have six flaps.

Now cut slits half way down the middle of each flap, as shown by the additional lines:

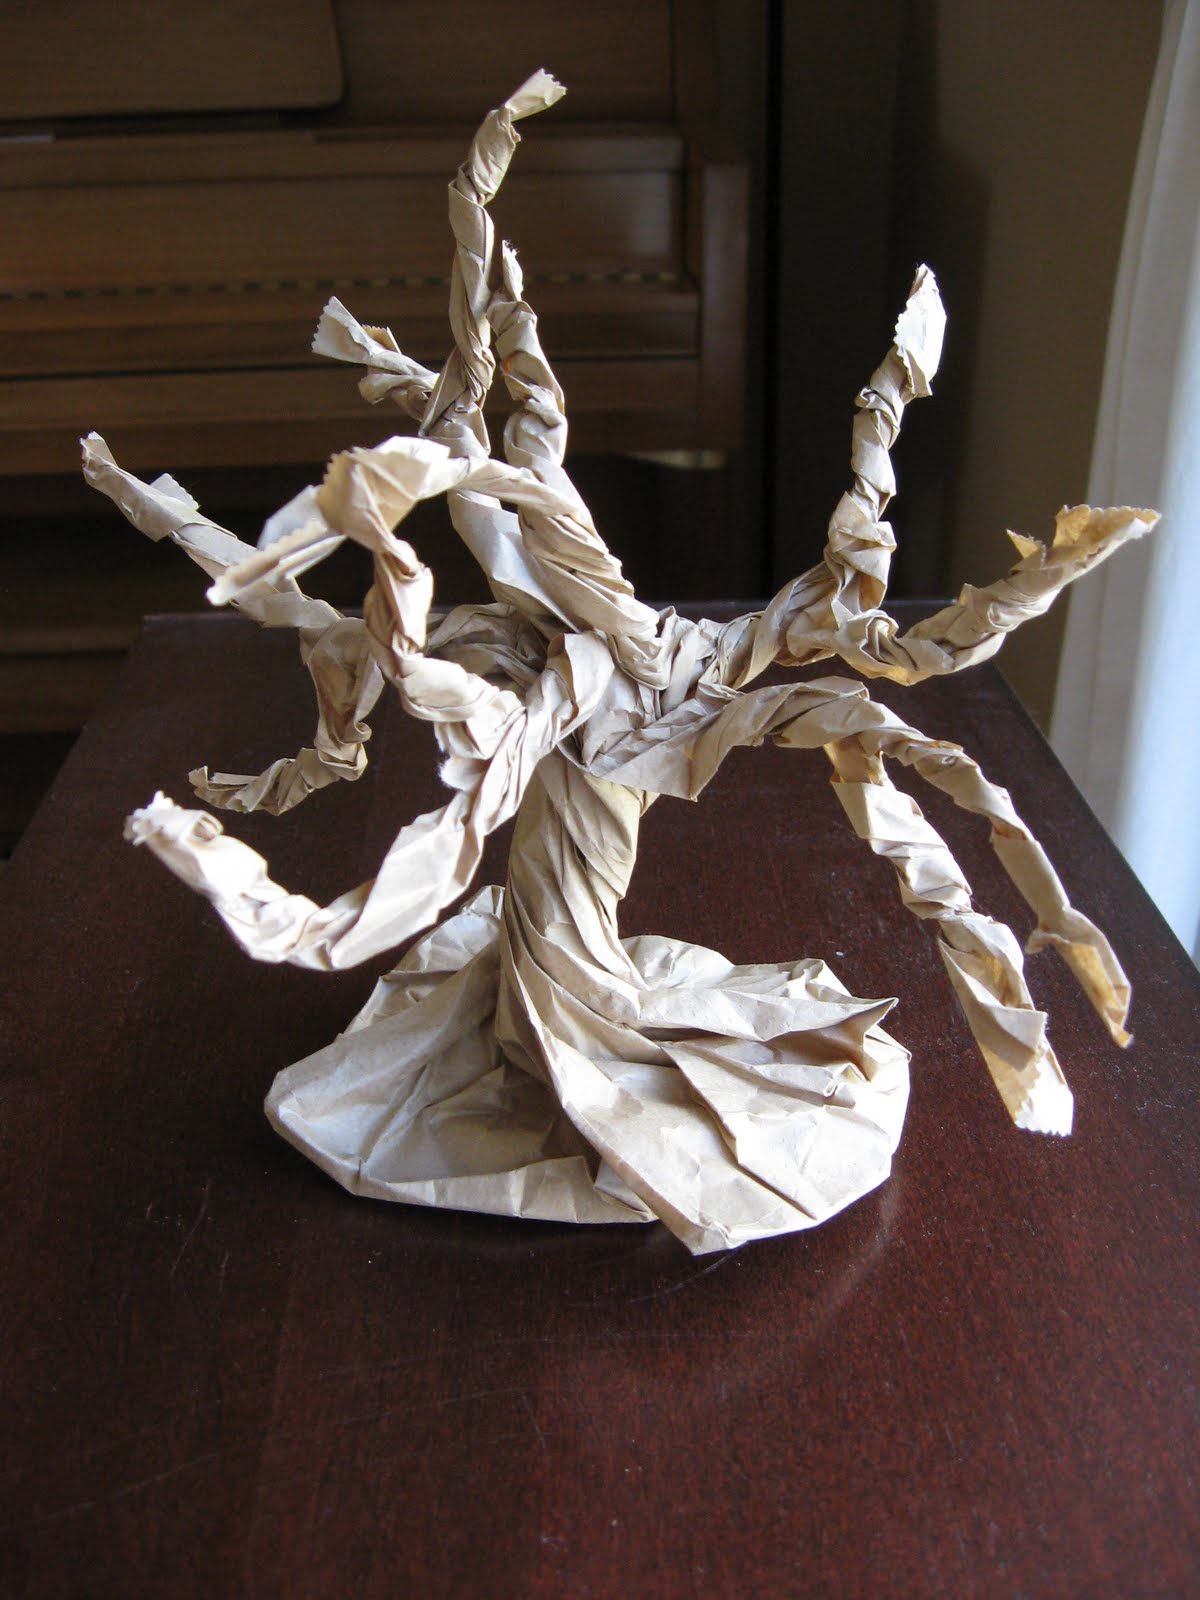
Take the bag and twist the bottom of it to make the tree trunk.


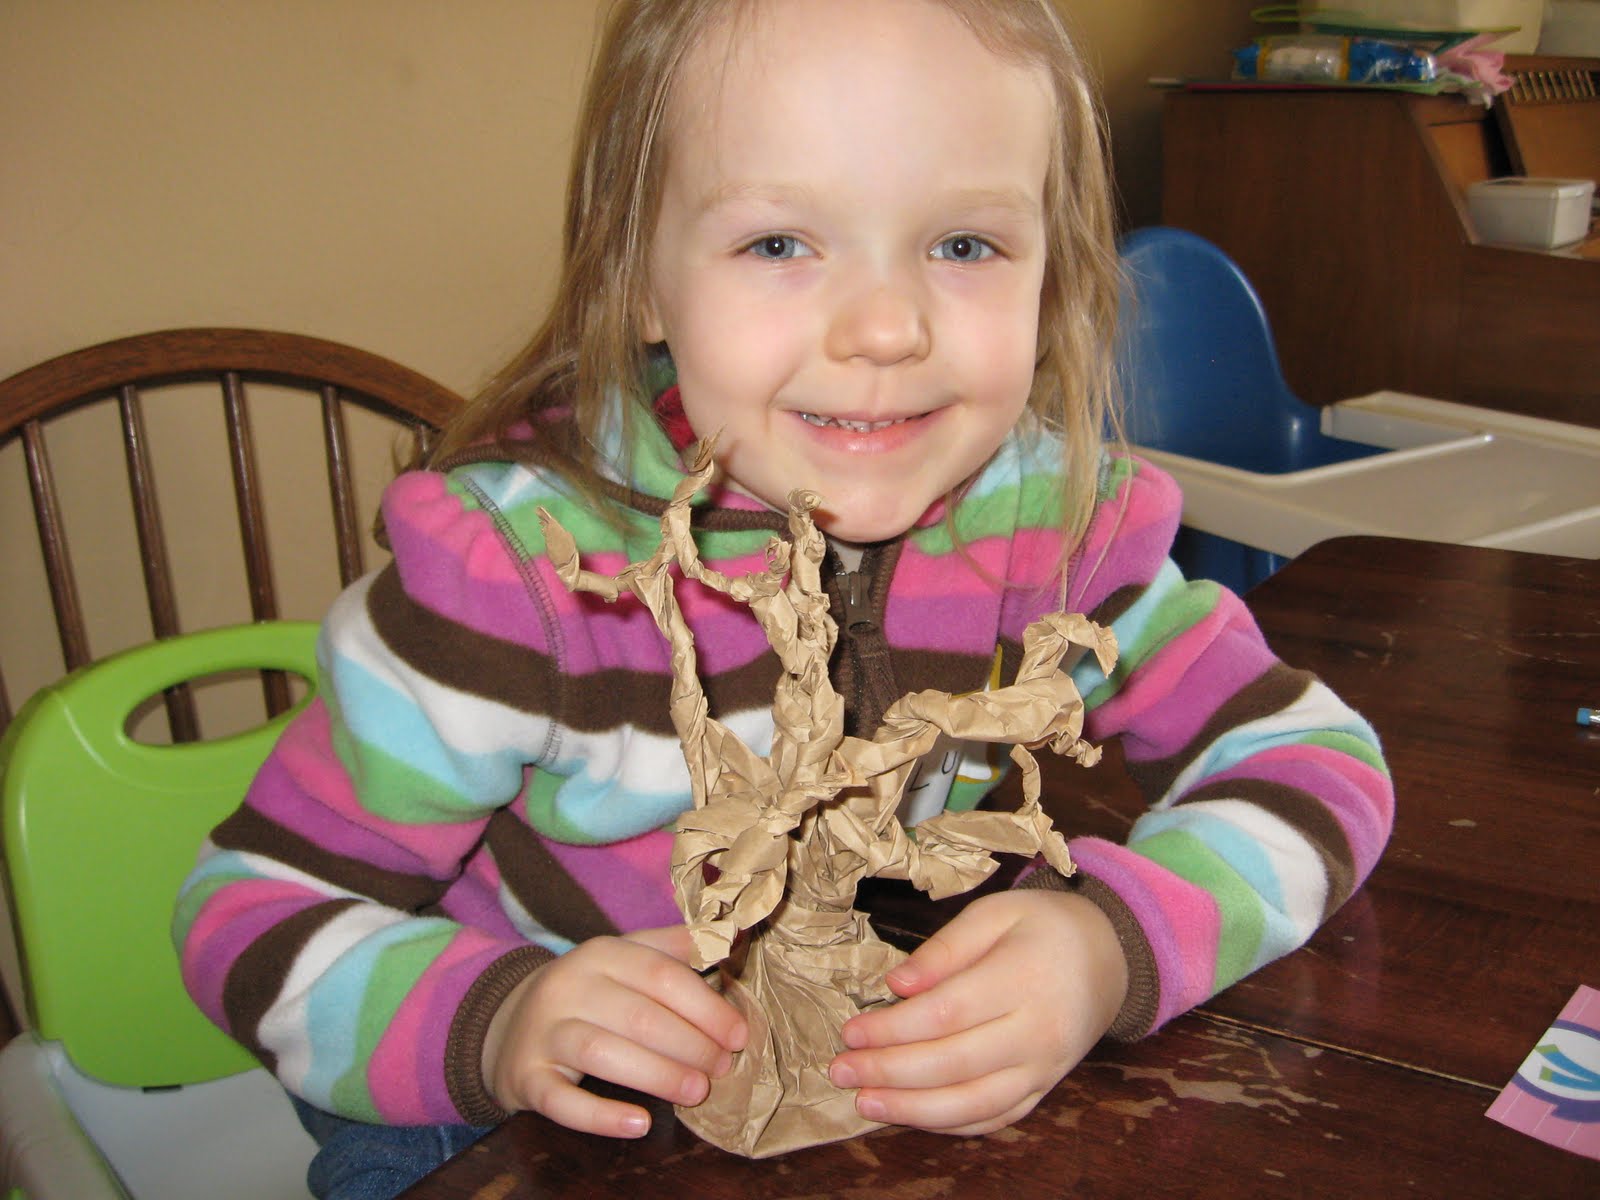
Twist each of the flaps, starting at the trunk and working your way along the branch. When you come to the split in each flap, twist those separately. Here is a tree in progress:

You can also cut slits in the bottom of the bag and twist to make roots. Enjoy!
Thanks Traci for the fun idea. :)
No comments:
Post a Comment